


Your Ultimate Guide on How to Wrap a Gift Like a Pro
Tired of messy, wrinkled gift wrap? What if you could wrap any present perfectly every time? This guide reveals the simple 5-step "Macy's Expert Method" used by professionals. You'll learn to wrap boxes, tricky shapes, and add beautiful finishing touches.
The Macy’s Expert Method: Your Foolproof 5-Step Plan
Now that your toolkit is ready and your gift is safely tucked inside its box, it’s time for the magic to happen. This is the moment we turn simple paper and tape into a beautiful, polished present. Follow these steps slowly and carefully, and you will create a wrapped gift that looks absolutely professional.
Step 1: Cut Your Paper to the Perfect Size
This first cut is the most important one for a neat finish. Place your box facedown in the centre of your wrapping paper, which should still be attached to the roll. Gently roll the paper over the box until it completely covers the top and reaches the table on the far side. Now, cut the paper from the roll right there.
Next, you need enough paper on the sides to wrap around the box. A simple trick is to bring the long side of the paper up and over the box. You should have enough paper to cover just over halfway down the opposite side. That’s your perfect amount! Cut the paper to that width. Remember, it’s always better to have a little extra paper than not enough.
Step 2: The First Smooth Fold
With your box still facedown in the centre of the paper, pull the long side of the paper up and over the far end of the box. Pull it taut so the paper is snug against the box. Now, press and crease the paper sharply along the box’s edge with your fingers. This crisp line is the secret to a tidy look.
Take your double-sided tape and run a strip along that creased edge of the paper. Carefully pull the other side of the paper across the box, line it up perfectly, and press it down onto the tape. You’ve now created one beautifully sealed seam!
Step 3: Joining and Tucking for a Clean Look
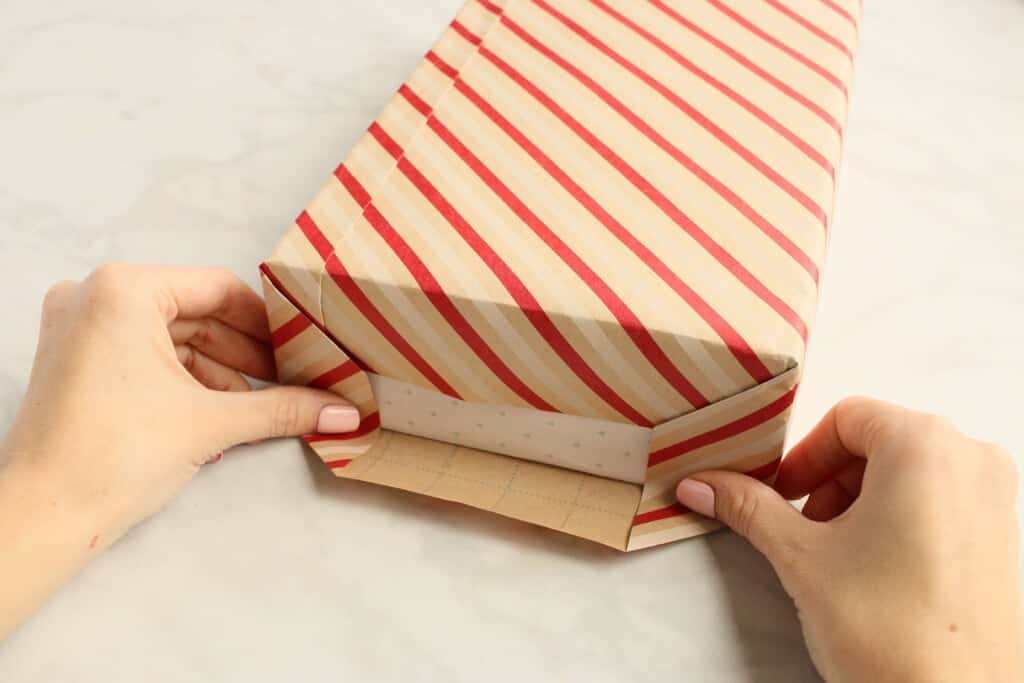
Turn the box so one open end is facing you. You’ll see a flap of paper on each side. Gently push the left and right sides of the paper flat against the box, creating neat folds at the corners. You will see a top flap pointing up.
Before you fold it down, here’s the pro tip: take the top flap and first fold about one inch of the messy edge underneath itself. This creates a lovely, clean edge. Now, fold this neat flap down onto the end of the box. Hold it in place with a small piece of double-sided tape. Repeat this precise folding and taping process on the other open end of the box.
Step 4: The Final Touch for Super-Sharp Lines
You’re almost done! To make your gift look extra crisp, gently pinch the long edges of the box between your thumb and forefinger and run them along the length of each seam. This final press sharpens all your creases. And there you have it—a perfectly wrapped gift, ready for a bow or a simple tag. Isn’t it satisfying to create something so lovely with your own hands?
Wrapping Tricky Shapes: The Secret Hacks
Isn't it satisfying to wrap a perfect box? But what about all those wonderful gifts that aren’t nice, neat cubes? Don't worry! Wrapping a football, a perfume bottle, or a single book doesn't have to be a puzzle. With a few clever secrets, you can tackle any shape confidently.
Conquering Balls, Bottles, and Books
Some gifts like to be difficult, but we have the perfect plans for them.
The Maths Trick for Awkward Cubes and Boxes
Have you ever tried to wrap a long, skinny box or a perfect cube and ended up with far too much paper? There’s a mathematical trick for that! It’s called the diagonal wrap, and it gives you a neat finish with very little waste.
First, measure your box. Find its height (the shortest side). Then, find the diagonal length of the box's largest side (imagine a line from one top corner to the opposite bottom corner). Now, do this little sum: take the box’s height, multiply it by 1.5, and then add the diagonal length you measured. The answer is the size of the square piece of wrapping paper you need to cut.
Lay your square of paper flat. Place your box directly in the centre, but turn it so a corner is pointing at you—it should be sitting diagonally on the paper. Bring the two side corners of the paper to the middle of the box and secure them with a little tape. Finally, fold the top and bottom corners up and over, just like wrapping the ends of a normal box, for a beautifully snug fit.
Clever Solutions for Spheres and Cylinders
Round shapes seem like they should roll right into the paper, but they can be tricky. There’s even a funny-named scientific rule called the "hairy ball theorem" which explains why you can’t wrap a ball smoothly without creating a bump or a gather somewhere. So, instead of fighting it, we use it to our advantage!
For a ball or an orange, place it in the centre of your paper. Gather all the paper at the top, like you’re holding a sack. Twist the paper tightly right above the gift, and then tie a ribbon around the twist. It will look like a lovely sweet or a festive cracker!
For bottles and jars (cylinders), wrap the paper around the middle as if it were a box. You’ll have lots of extra paper at the ends. Gently pleat or fold this paper in small sections around the circular lid and base, taping each little fold down as you go. A ribbon around the middle hides any little bumps beautifully.
Scientists in 2025 even found that wrapping a ball in foil using an equilateral triangle shape saves the most material! For paper, you can try cutting your paper into a flower-like shape with several "petals" to fold over the top of a ball.
What to Do When You're Really Stuck
Sometimes, a gift is so oddly shaped that no standard wrap will work. That’s when we get creative.
The "Make Your Own Shape" Hack
The secret is to build a simpler shape around your gift. For a soft teddy bear, a funny-shaped mug, or a pair of slippers, start with a cloud of pretty tissue paper. Place your gift on top, then bundle more tissue around it until you have a loose, lumpy shape. Gently press and mould this bundle into a more regular cube or rectangle. Now, slide this entire bundle into a gift box, or wrap it up as if it were a box! The paper will hold the tissue in place, creating a beautiful surprise inside.
The DIY Gift Bag Rescue
When all else fails, make your own gift bag! It’s easier than you think. You’ll need a rectangle of wrapping paper, some tape, and two pieces of string or ribbon for handles.
- Lay your paper pattern-side down. Fold about two inches of one long edge over to create a strong top cuff. Unfold it for now.
- Turn the paper over so the pattern faces up. Fold the two long sides together so they overlap by about an inch, and tape this seam to make a tube.
- At the bottom, push the corners in to create triangular flaps, just like when you are closing a cardboard box. Fold these flaps flat and tape them down securely.
- Now, open up your bag and re-fold the top cuff down to the outside. This hides the top edge and makes the bag strong. Poke two small holes near the top, thread your string through, and knot it on the inside for handles.
Drop your tricky gift inside, add some shredded tissue paper, and you have a beautiful, custom-made presentation. You see, with a little thought, there is no gift you cannot wrap beautifully.
Making Your Gifts Extra Special
Now that you’ve mastered wrapping even the most stubborn shapes, let’s move on to the best part: the finishing touches! A beautifully tied bow and a few personal decorations are like the sprinkles on a cupcake—they turn something nice into something wonderful. Here’s how to add that final bit of magic.
Tying the Perfect Bow Every Time
A perfect bow sits proudly on top of your gift, announcing that something special is inside. With these two methods, you’ll never have a floppy or lopsided bow again.
The Classic Crossed Ribbon Technique
This is the most reliable way to tie a beautiful, centered bow on any box. It works every single time.
- First, cut a piece of ribbon. A good rule is to make it about five times as long as your box.
- Lay your wrapped box face-down on your workspace. Place the ribbon underneath it, running from one side to the other. The ends should be even.
- Bring both ends of the ribbon up to the top of the box. Now, cross them over each other in the center, as if you are starting to tie your shoes.
- Carefully turn the box over so it is now face-up. You’ll see the crossed ribbon on the bottom is now on top.
- Take the ribbon end in your right hand and thread it under the ribbon lying across the top of the box, from right to left. Do the same with the left end, threading it under from left to right. Pull both ends gently to tighten. You now have a perfectly centered knot!
- Tie a simple, pretty bow right over this knot. To finish, pinch each ribbon tail lengthwise between your fingers and cut the end at a sharp 45-degree angle. This creates a lovely "forked" tail that looks professional.
Creating a Florist-Style "Wow" Bow
For a truly spectacular, statement bow that looks like it came from a fancy shop, you’ll need a different material. Use a stiff, textured florist ribbon, often called acetate satin. It holds its shape beautifully.
- Start with a long piece of ribbon. Make a loop, pinching the base between your thumb and finger.
- Make another loop of the same size on the other side, twisting the ribbon at the center each time. Keep adding loops, alternating sides.
- Once you have 4-6 loops on each side, you can create two smaller loops for the center "knot." Wrap a separate piece of ribbon tightly around the pinched center and tie it securely at the back.
- Fluff out all the loops and adjust them to form a full, round, sculptural bow. This kind of bow is a gift in itself!
Adding Creative and Personal Touches
These final details show you really care. They make your gift unforgettable.
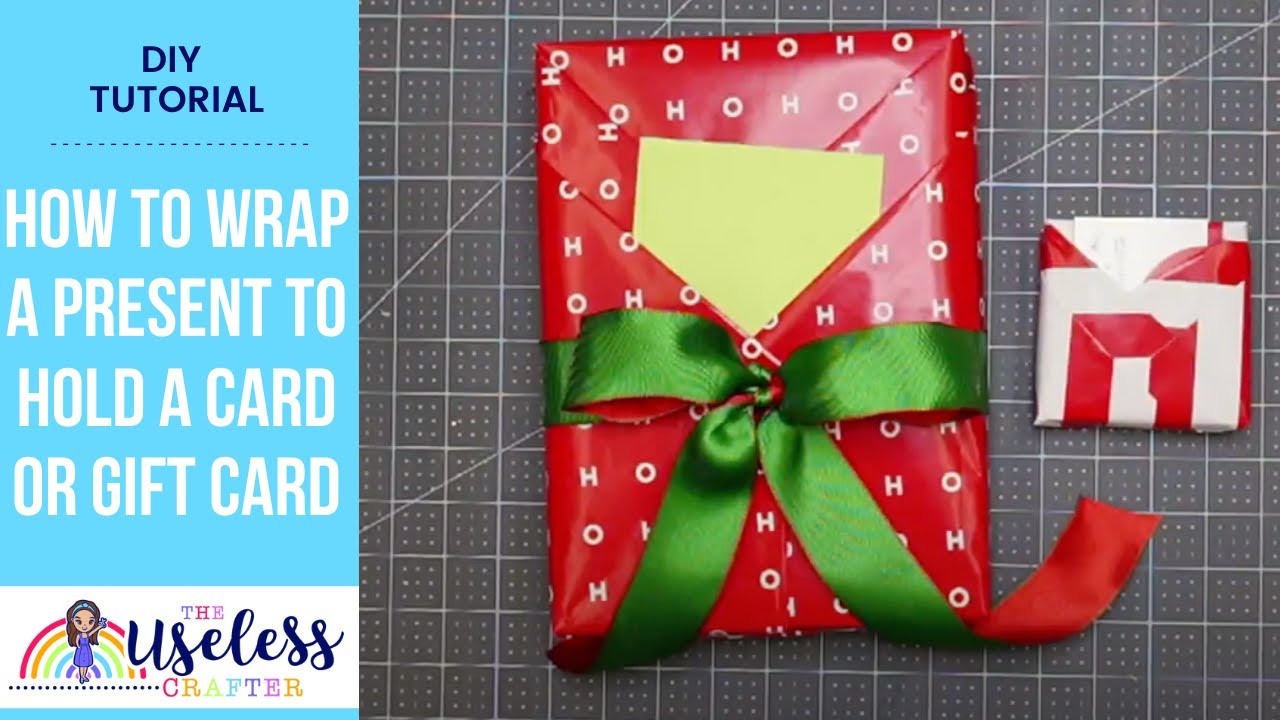
Building a Decorative Card Holder
Instead of taping your gift tag on top where it can fall off, make it part of the design! As you are wrapping your box, you can fold a small pocket into the paper before you tape it down. Or, after wrapping, use a small piece of double-sided tape to attach a little paper "frame" or "slot" to the front of your gift. Slide the corner of your card right into it. It keeps the card safe and looks wonderfully thoughtful.
The Layered and Embellished Look
This is my favorite way to wrap. It’s like building a cozy, beautiful scene.
- Start with a base: Use a simple, neutral wrapping paper—brown craft paper, soft white, or a solid color.
- Add a layer: Cut a strip of a different, contrasting paper (like a patterned or sparkly one) and wrap it around the middle of the box like a belt. Secure it at the back with tape.
- Tie it together: Use a natural twine, a velvet ribbon, or a simple piece of yarn to tie a bow over the paper belt.
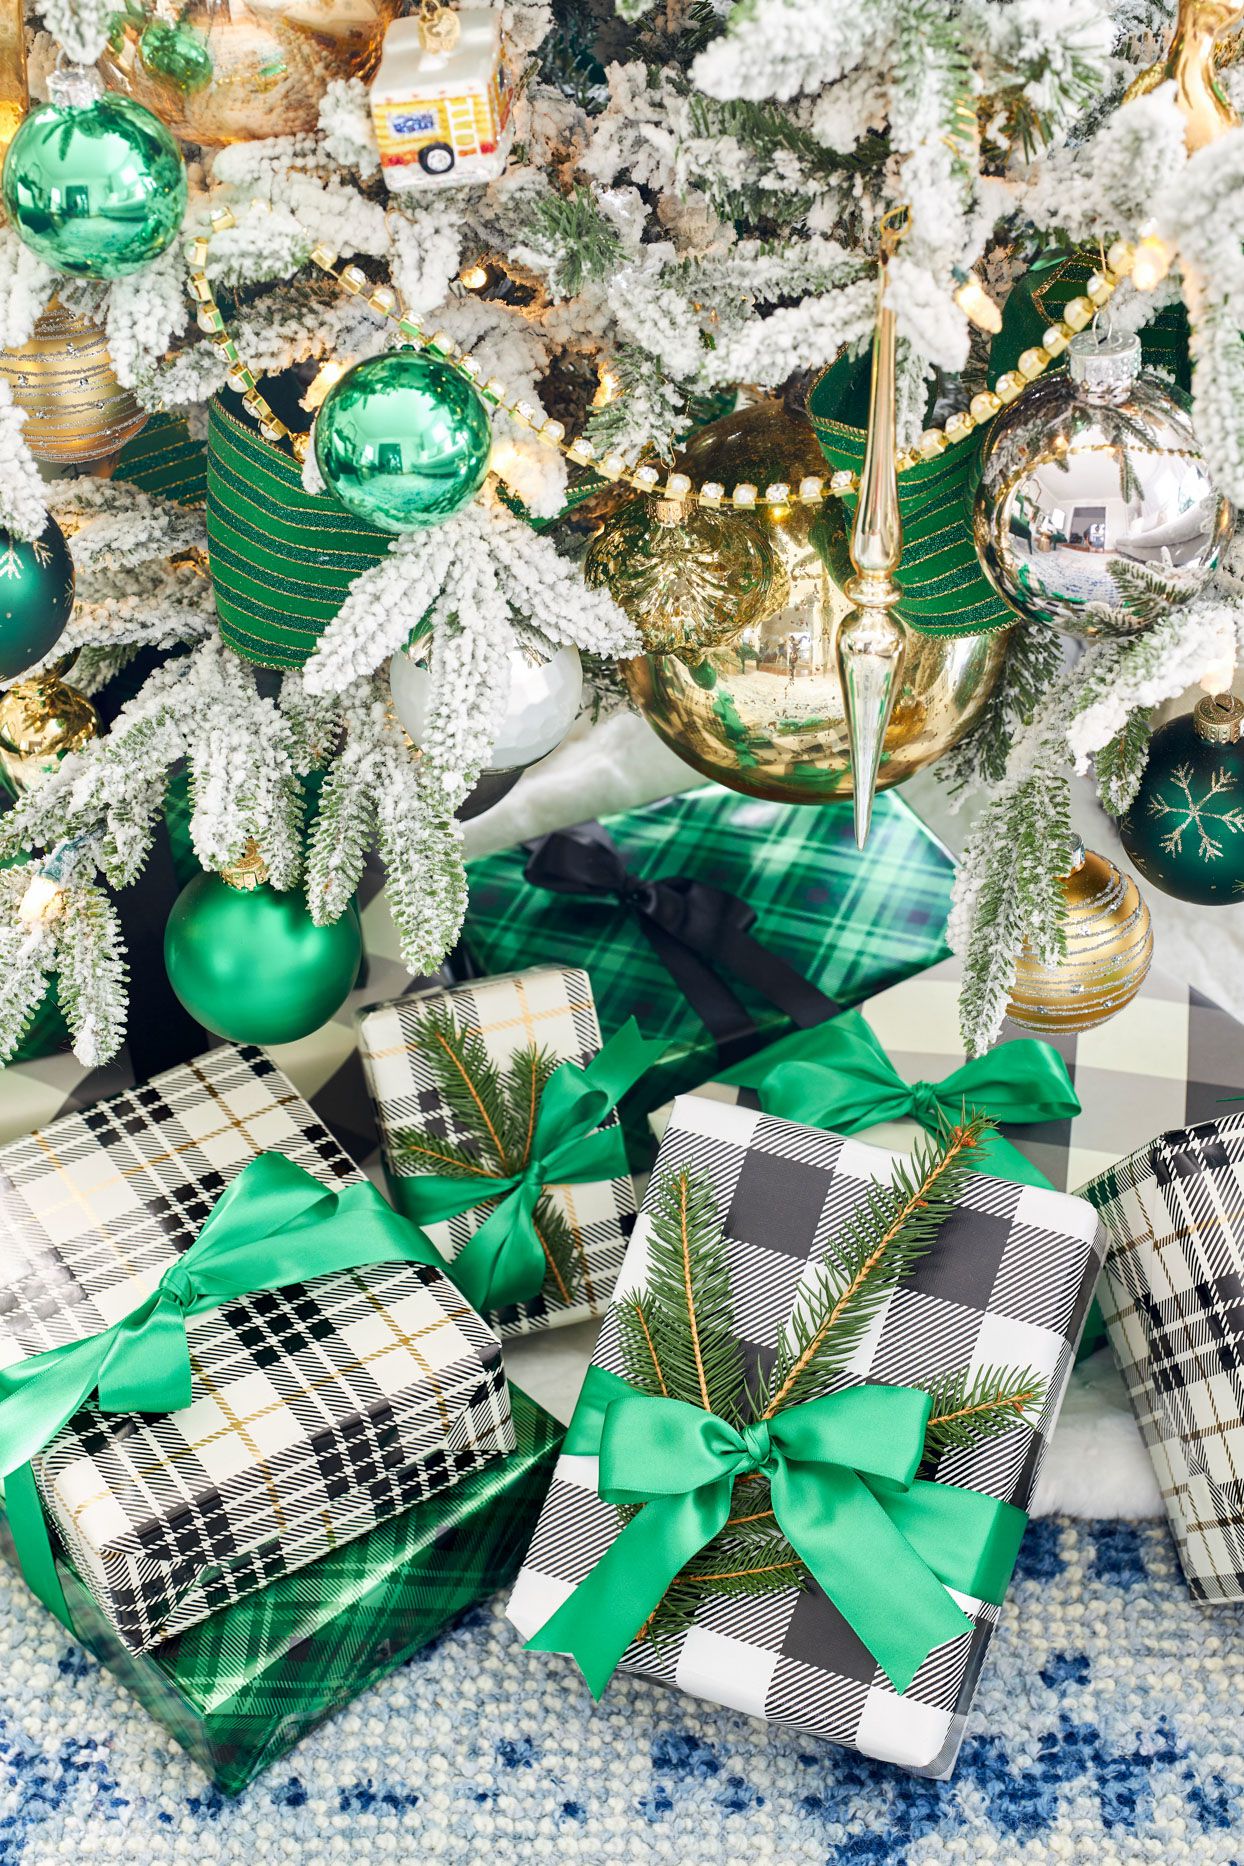
- Embellish! This is where you get creative. Tuck your chosen decoration under the ribbon. For a festive touch in 2025, try a tiny pine cone, a cinnamon stick, a dried orange slice, or a sprig of rosemary. You could also attach a small ornament, a feather, or even a little handwritten note on a tag.
This layered look is not only gorgeous, but it also feels incredibly personal and made-with-love. Anyone who receives a gift wrapped by you this way will know just how much you were thinking of them.
Going Pro & Thinking Green
Your gifts are looking beautiful! Now, let's learn a few special tricks to make them look truly professional, and discover some wonderful, planet-friendly ways to wrap that don't use any paper at all.
Professional Tricks for a Flawless Finish
Have you ever wondered how gifts in shops look so perfect? Their secret is all in the details. With these two simple tricks, your gifts will have that same polished, store-bought look.
Why Double-Sided Tape is a Game-Changer
Ordinary tape is useful, but it can leave shiny strips on your beautiful paper. For a truly clean finish, double-sided tape is your best friend. It hides completely between layers of paper, creating invisible seams. Use it to join the ends of your wrapping paper tube on the bottom of the box, and to secure any final flaps. The result is a smooth, professional appearance with no visible tape lines—it’s pure magic!
The Importance of Sharp Creases and Tight Wraps
The difference between a good wrap and a great wrap is all about crispness. Here’s the secret: always pull your paper taut. Before you tape anything down, gently pull the paper so it lies smoothly against the box, without any wrinkles or bubbles. Then, use your fingernail or a ruler to crease every fold sharply. Run your nail firmly along the edge of the box to make a neat, defining line. This attention to detail is what gives department-store-wrapped gifts their clean, polished look.
Sustainable Gift Wrap Methods Everyone Can Try
In 2025, being kind to our planet is more important than ever. One wonderful way to help is by choosing reusable or recycled materials to wrap your gifts. It’s creative, beautiful, and thoughtful in more ways than one!
Furoshiki: The Beautiful Japanese Cloth Wrap
This ancient Japanese art uses cloth instead of paper. The best part? The cloth is part of the gift! The receiver can use it again and again.
What You Need: A square piece of fabric. You can use a vintage scarf, a pretty napkin, a tea towel, or buy a special furoshiki cloth.
The Basic Method:
- Lay your fabric flat, patterned side down. Place your gift box in the center, but turn it so a corner points to you (at a 45-degree angle to the cloth).
- Take the corner of the cloth nearest to you and pull it up and over the box to the center.
- Take the opposite corner (the one farthest from you) and pull it up and over the box, covering the first corner.
- Now, take the left corner and fold it tightly over to the center.
- Finally, take the right corner and fold it tightly over everything. Tie the right and left corners together in a secure double knot on top.
- Gently fluff and adjust the knot so it looks like a pretty bow. Your gift is now a beautiful bundle!
Wrapping a Wine Bottle with Fabric
A bottle can be tricky to wrap in paper, but it’s perfect for a fabric wrap. This makes a lovely hostess gift for a holiday party in 2025.
What You Need: A 28-inch square cloth works well for a standard wine bottle.
The Method:
- Place the bottle in the center of the cloth, lying diagonally.
- Take the corner of cloth at the top of the bottle’s neck and pull it down over the bottle’s top.
- Bring the opposite bottom corner up to the front of the bottle.
- Gather the two side corners of the cloth around the neck of the bottle.
- Twist these two gathered corners together tightly, then wrap them around the neck once.
- Tie the ends together in a neat knot at the back of the bottle’s neck. For a final touch, tuck a small spring of fresh rosemary or a cinnamon stick into the knot. It smells wonderful and looks festive!
Your Journey to Perfect Gift Wrapping
You've now learned the complete skill of gift wrapping! You started with the core "Macy's Expert Method" for a flawless box. Then, you mastered tricky shapes like balls and bottles using clever hacks. Finally, you discovered how to add pro touches with bows and sustainable wraps like "Furoshiki." Remember, the secret is sharp creases, tight paper, and a little creativity.
Ready to amaze your friends and family with your new talent? Gather your paper, ribbon, and double-sided tape, and try it yourself! Share your most beautiful creation in the comments below—we'd love to see what you make!
Related Products
- $34.95
-
$34.95 - $34.95
- $29.95
-
$36.52 - $29.95
-
White
-
Pink
-
Khaki
-
Green
- $23.99
-
$35.99 - $23.99

- $23.99
-
$35.99 - $23.99
- $35.95
-
$35.95 - $35.95

- $28.95
-
$28.95 - $28.95

- $41.95
-
$41.95 - $41.95
- $32.95
-
$32.95 - $32.95

- $26.95
-
$26.95 - $26.95
- $21.95
-
$27.45 - $21.95